
Why a part warps on the Form 4 — and how orientation saves you hours and money
Picture this: you queue a batch of twelve housings on the Form 4 overnight, come back in the morning — and three of them are bowed like they'd been left on a radiator. Resin gone, eight machine-hours burned,…

Picture this: you queue a batch of twelve housings on the Form 4 overnight, come back in the morning — and three of them are bowed like they’d been left on a radiator. Resin gone, eight machine-hours burned, the batch has to run again. The most annoying part? The printer is blameless. Not the resin, not the firmware. The whole drama was set in PreForm, the moment the part was laid down at a bad angle.
We’ve walked into that morning more than once on our own floor, until the lesson stuck: on the Form 4 and Form 4L, part orientation isn’t cosmetic — it’s half the result. Formlabs collected their guidance into one document; we cross-checked it against our own shop practice. Here’s what actually saves resin and time.
Print flat on the platform whenever you can
The simplest rule pays the most. If a part has even one flat face, print it directly on the build platform — no raft, no supports. The part is better constrained, warps and shrinks less, and you save on supports, which is both resin and post-processing labor.
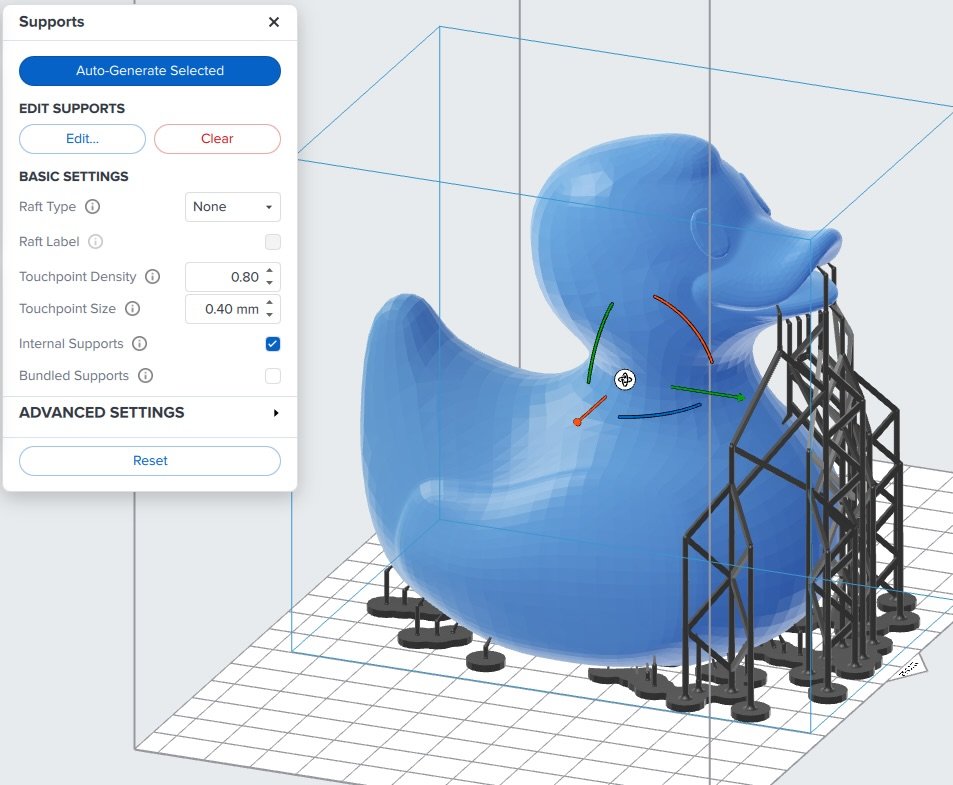
One catch that’s easy to miss: the bottom layers on the platform almost always come out slightly oversized in the XY plane. If a precise fit matters, design for it up front. Add small chamfers around the edges of the face touching the platform so the part comes off cleanly — and for slender parts, add a brim to increase the contact area so nothing rips loose mid-print.
Heaviest mass down, and no merging features
Second rule, just as plain: orient the part so its largest, heaviest sections sit closest to the platform. The logic is mechanical — the sooner many touchpoints grab a heavy region during the print, the smaller the chance it tears off its supports under its own weight.
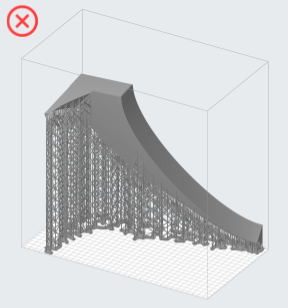
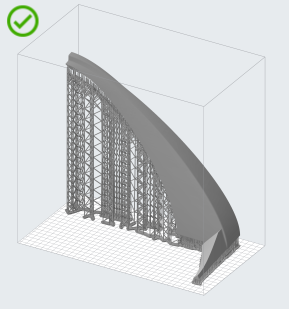
Left — mass carried high, part at risk; right — heavy end near the platform
And mind the branching: lay the model out so features diverge from a common base rather than merging together as the print climbs. A part built up from one base behaves predictably. A part where two “trees” meet halfway up is asking for a defect right at the junction.
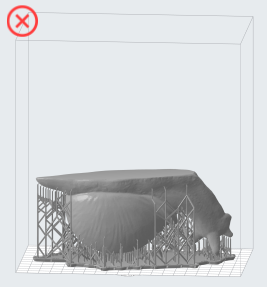
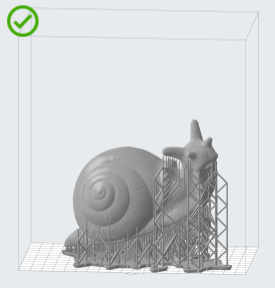
Left — merging; right — shared base
45 degrees isn’t superstition — it’s shrinkage physics
Each layer pulls on the one below it. On a short part that’s nothing. On a long span it’s the exact warp that makes you print the batch twice.
Every new layer shrinks a little as it cures and presses on what’s already printed. Over a long span or a large cross-section those forces stack up — and the part either curls or breaks off the supports. The usual suspects, each fixed by reorienting to 45° from horizontal:
H-bar shrinkage — pull across a long span or large cross-section.
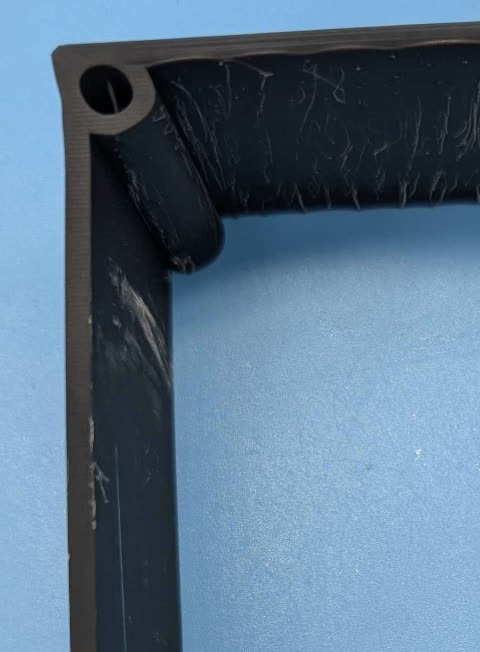
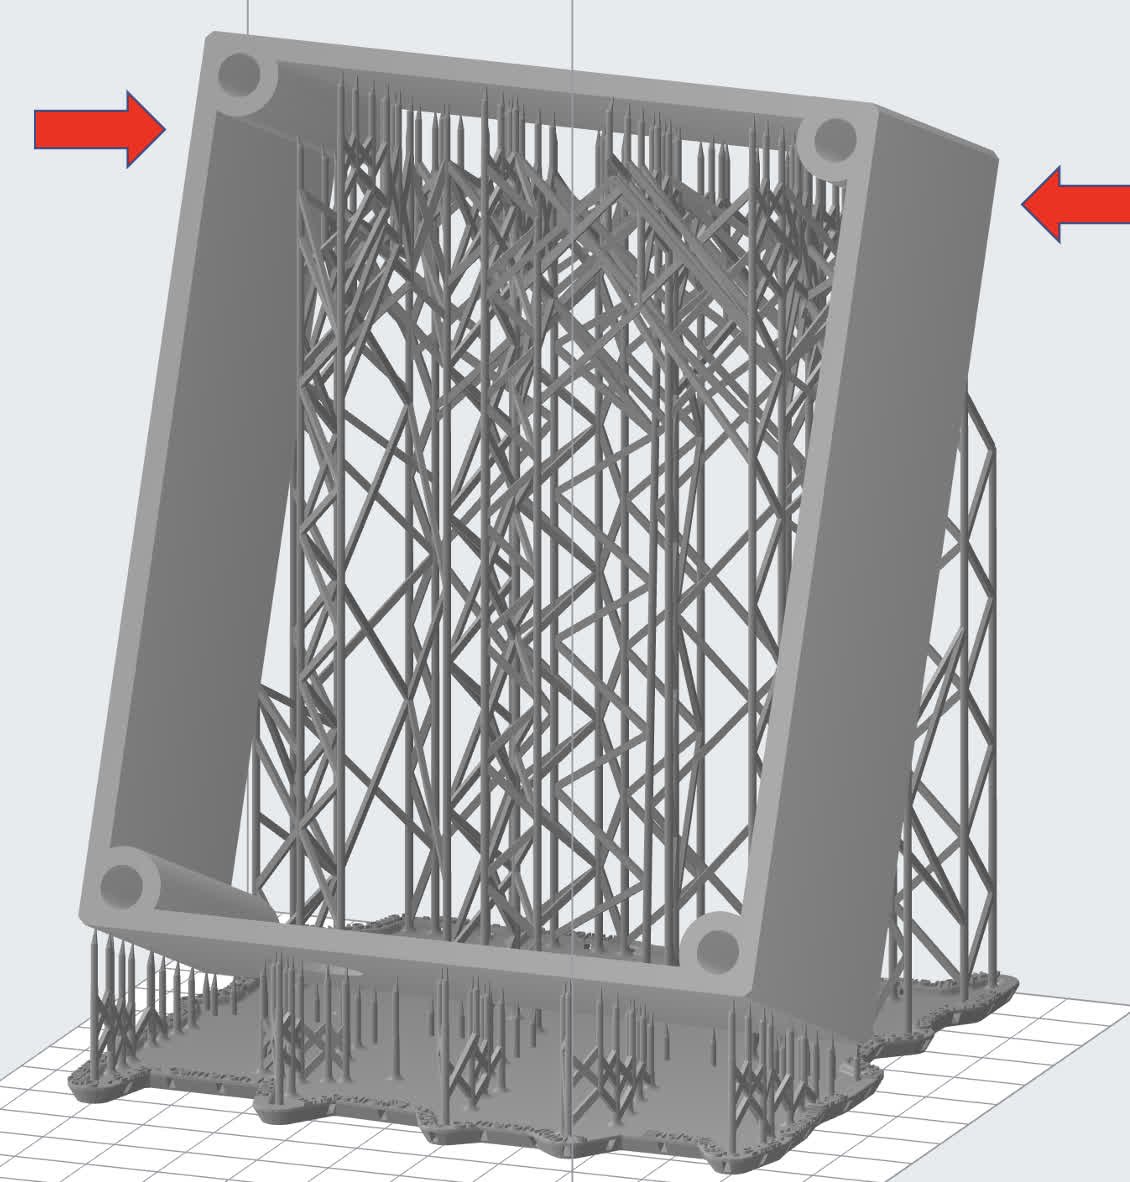
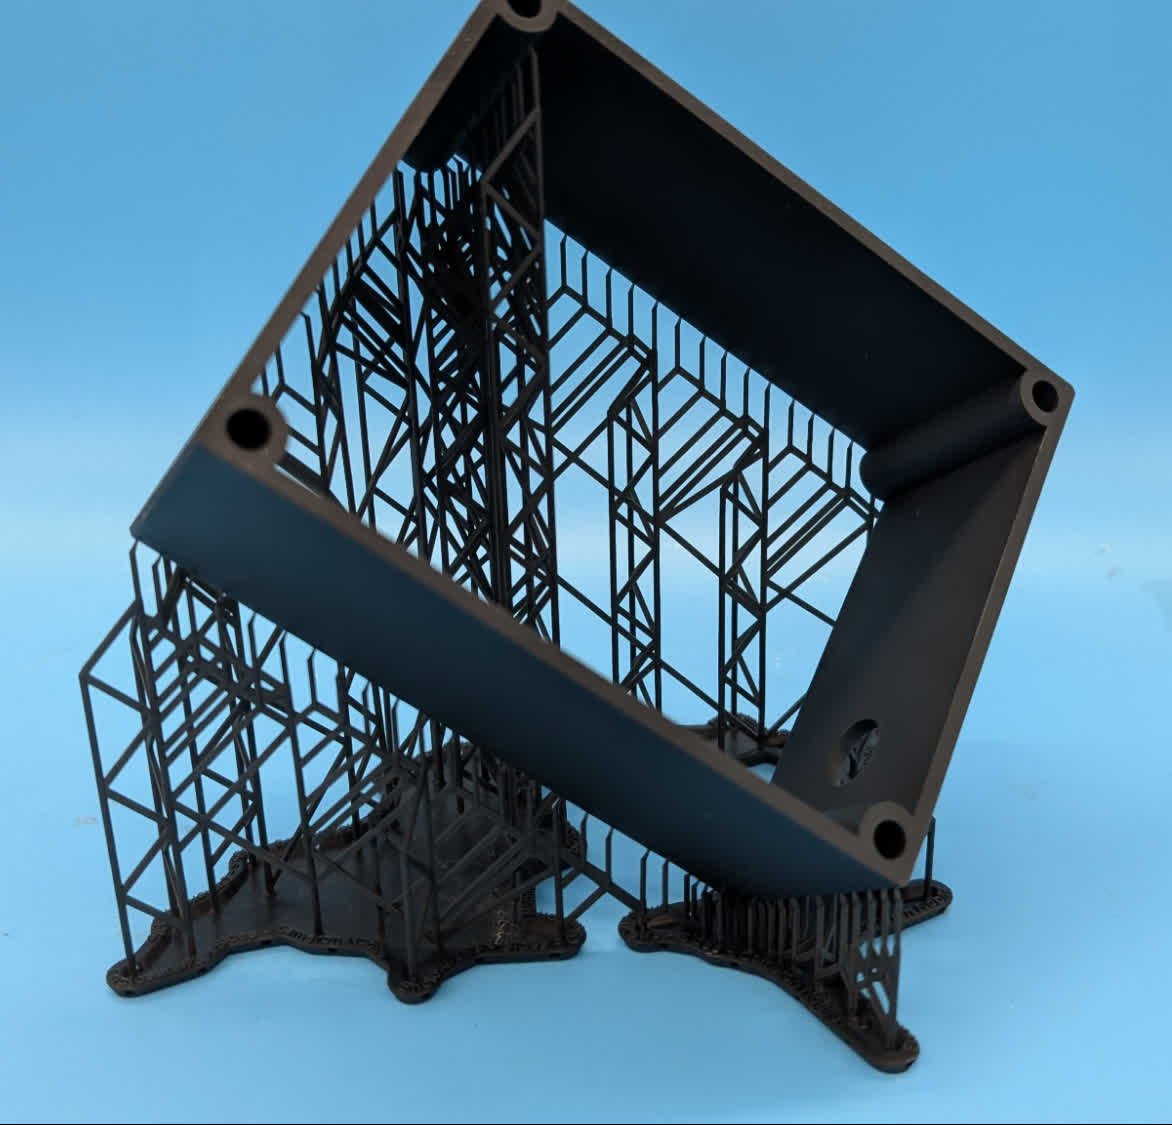
Defect → bad orientation → fix
Edge curling — the same forces lift the part’s edges.
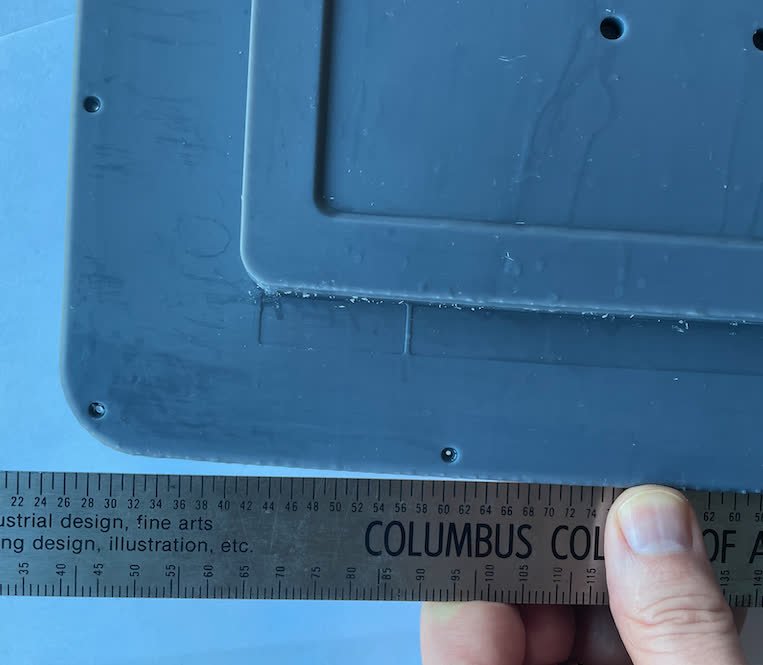
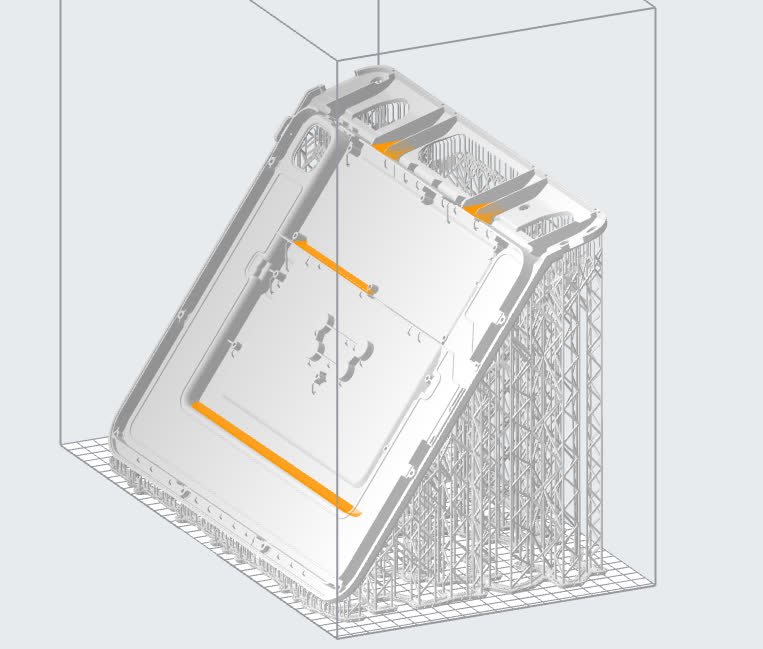
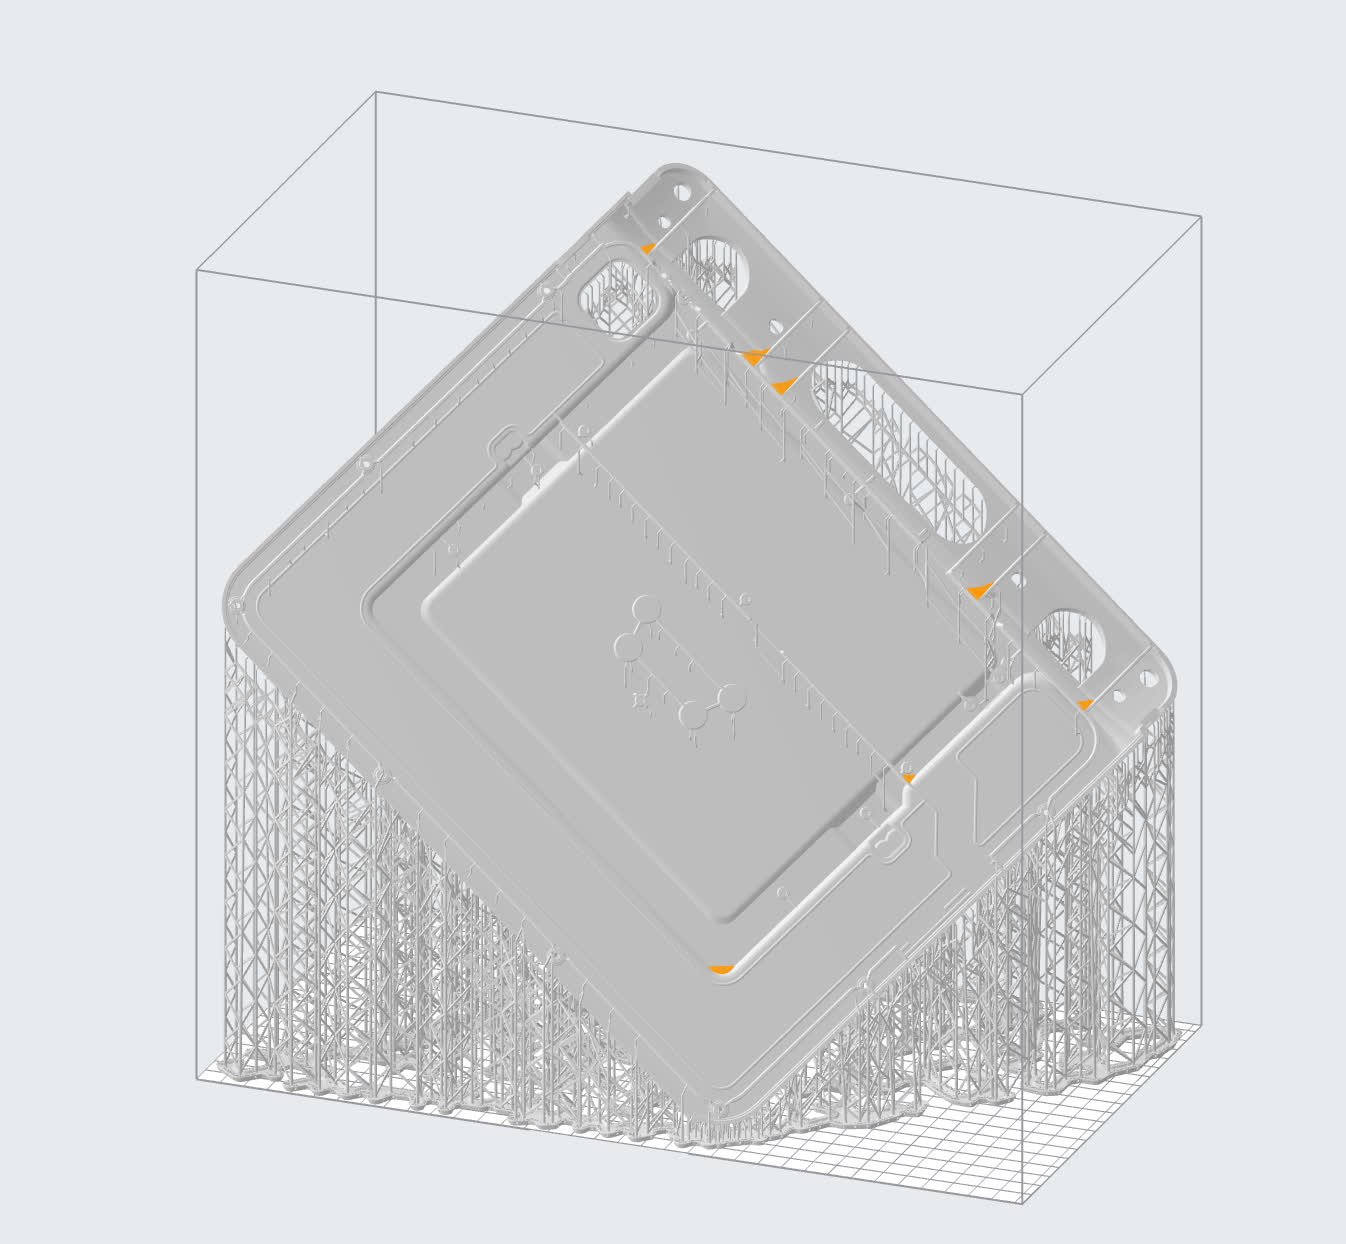
Large-surface curling — the same, on bulkier parts; rotate the big surface away from the platform.
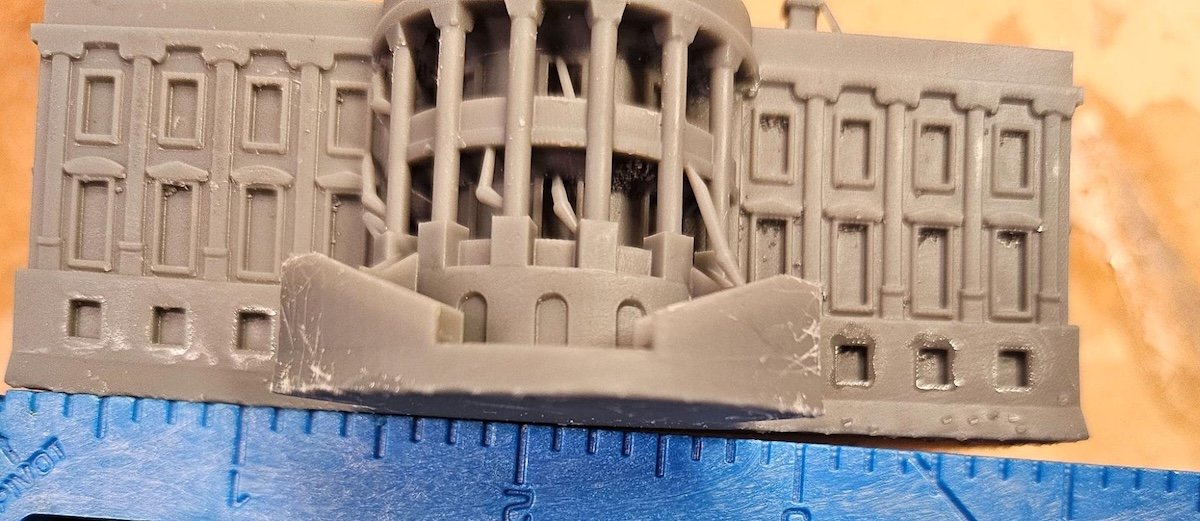
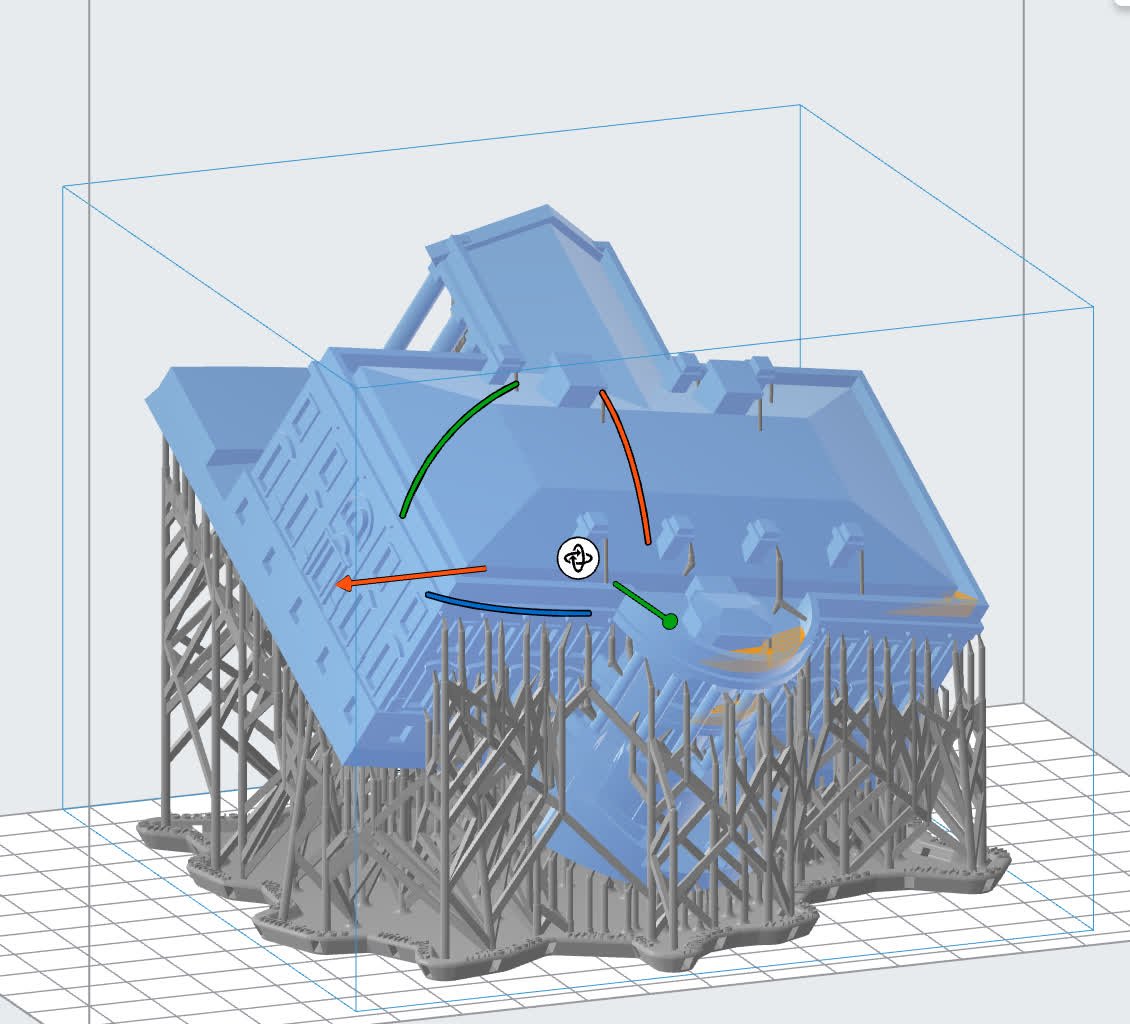
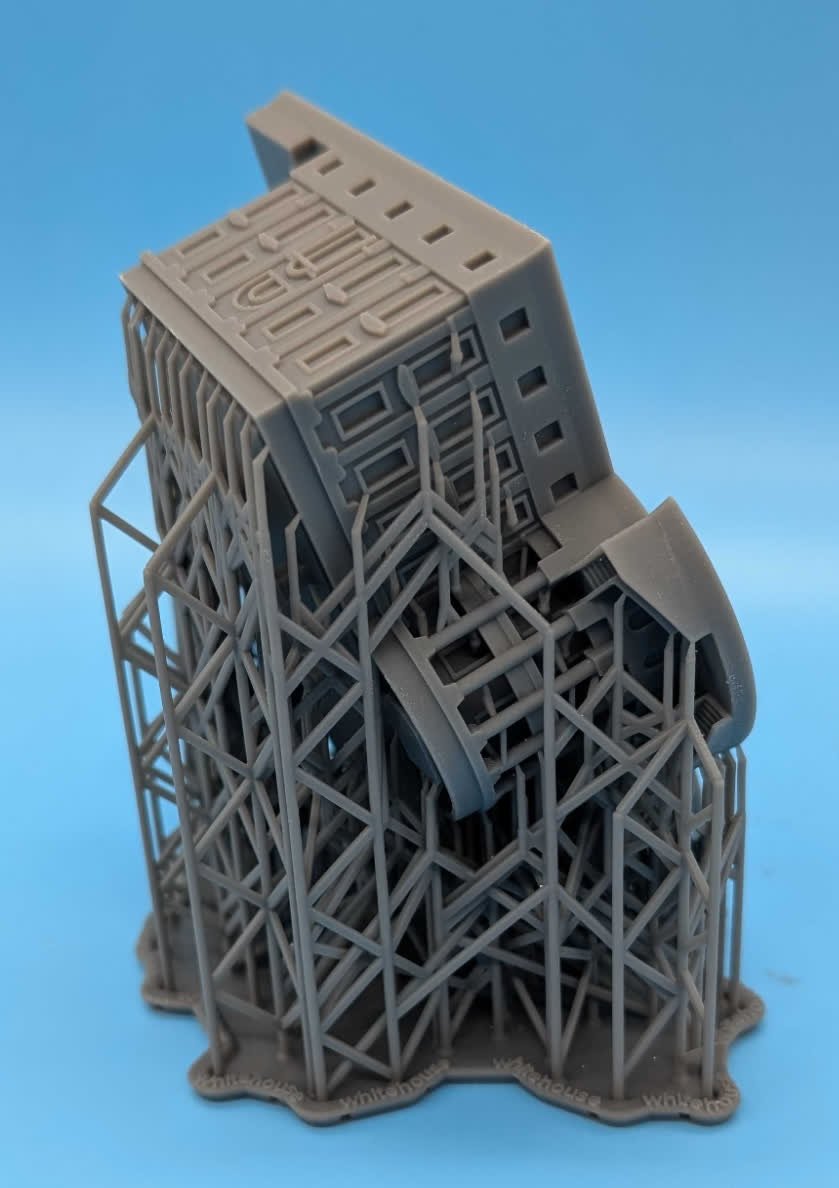
Bat-winging — edges lifting on shallow-angle faces, caused specifically by insufficient support density. Go more vertical, or raise support density with evenly spaced touchpoints.
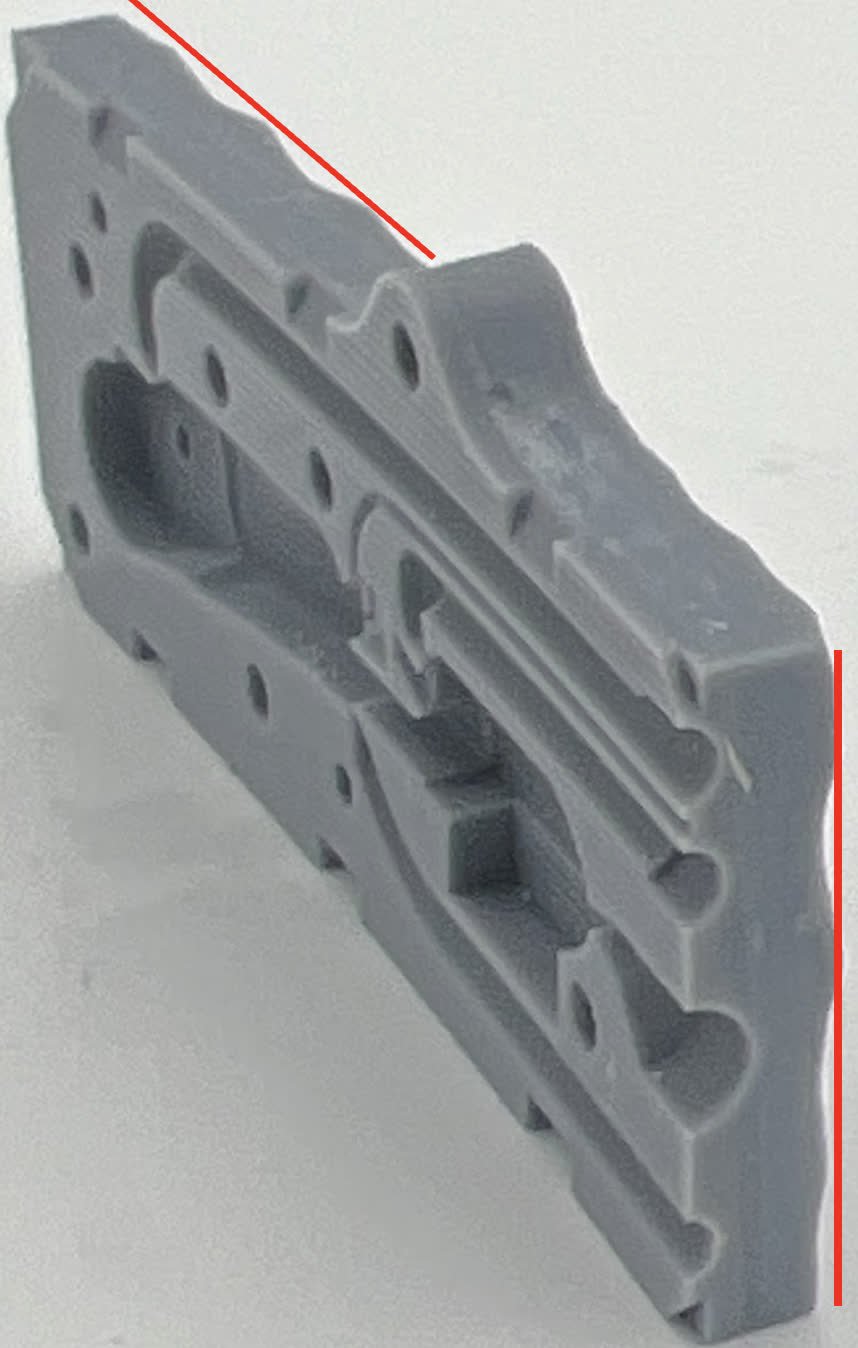
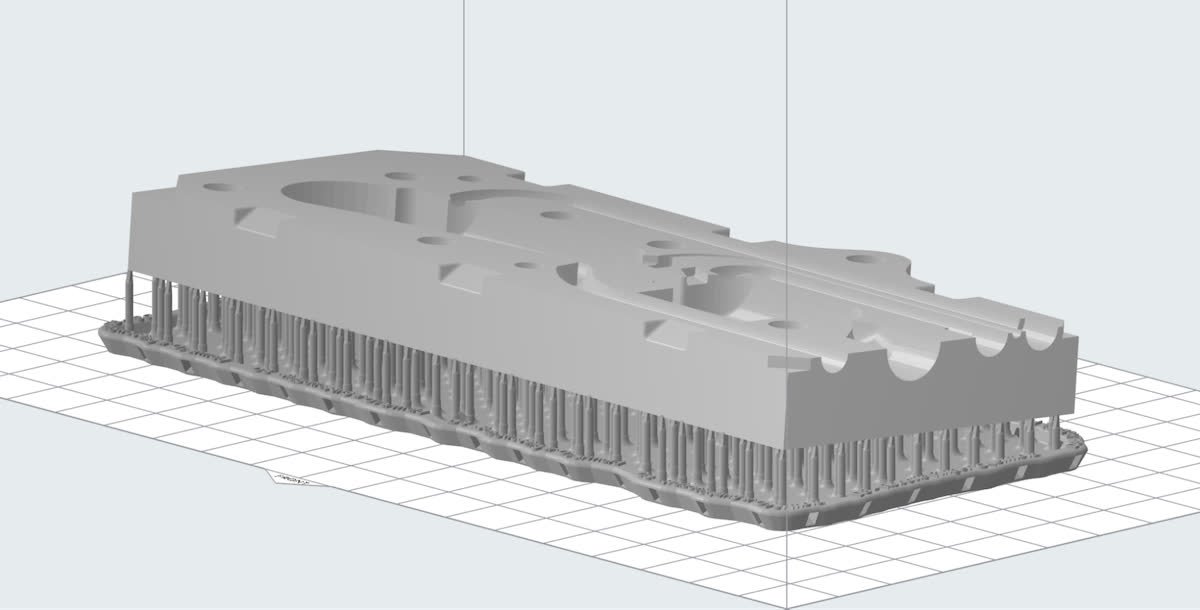
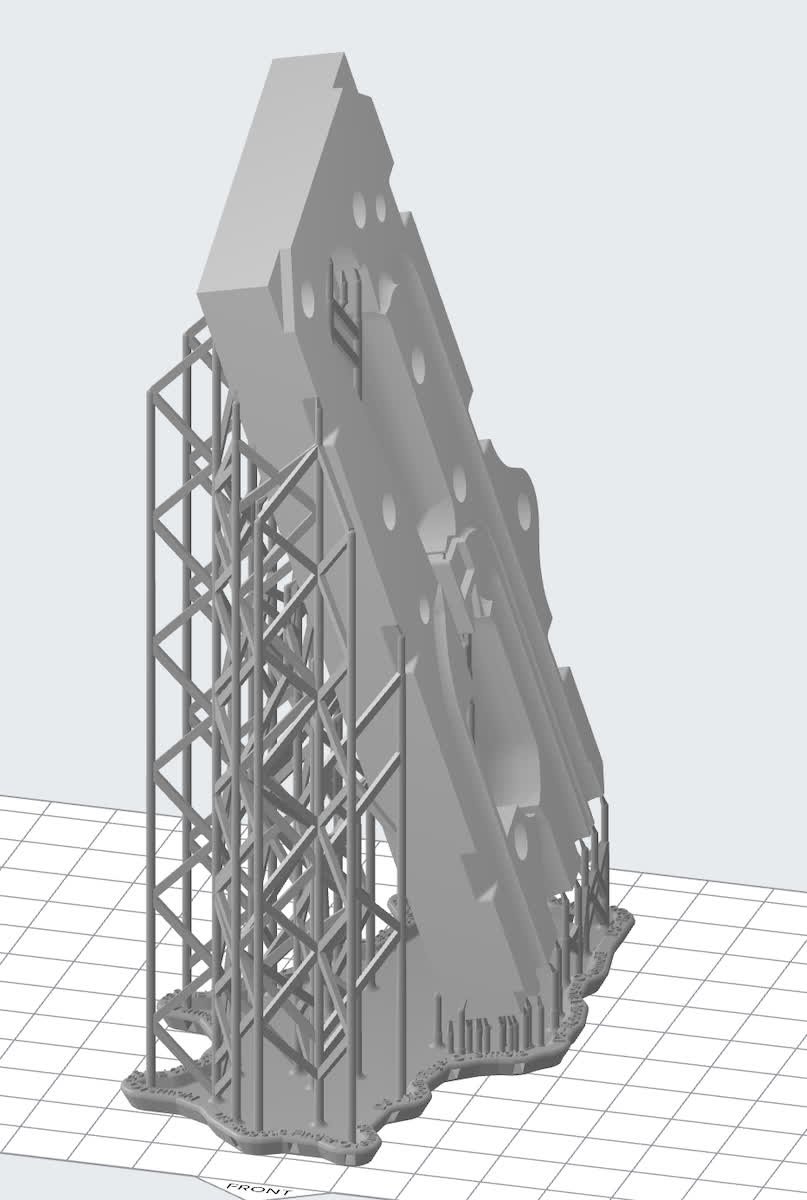
One move covers most of this: minimize how much the cross-sectional area changes between layers, and run parts vertically along their longest dimension. And the resin matters too — different Formlabs materials hold their shape differently: rigid ones move less, soft materials and long cure cycles are more prone to sag. Not sure what to buy for a job? Ask us.
LPU texture, cones, and a one-minute prep habit
The Form 4’s Light Processing Unit has a release texture, so faces printed parallel to the platform can pick up faint dimpling. Lay large flat, visible, or mating surfaces at a shallow angle instead of dead parallel — in PreForm, hold Shift to rotate in 15° steps — and keep aesthetic faces away from supports.
Symmetric expanding shapes like cones create suction between layer and tank film; tilt them, thickest part down.
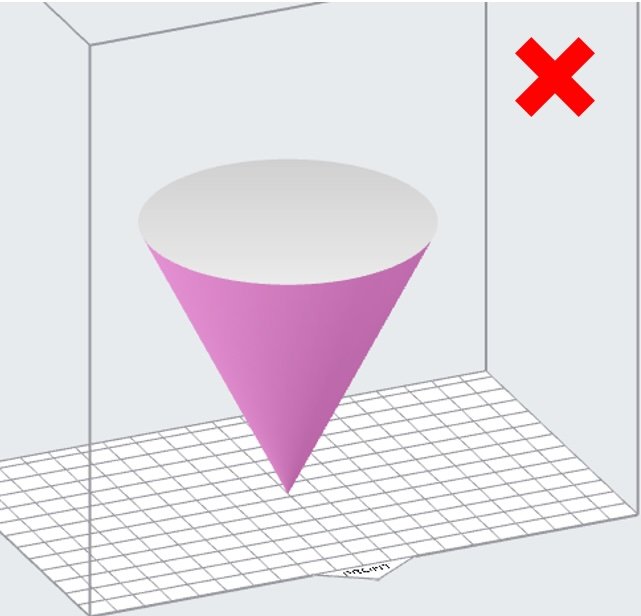
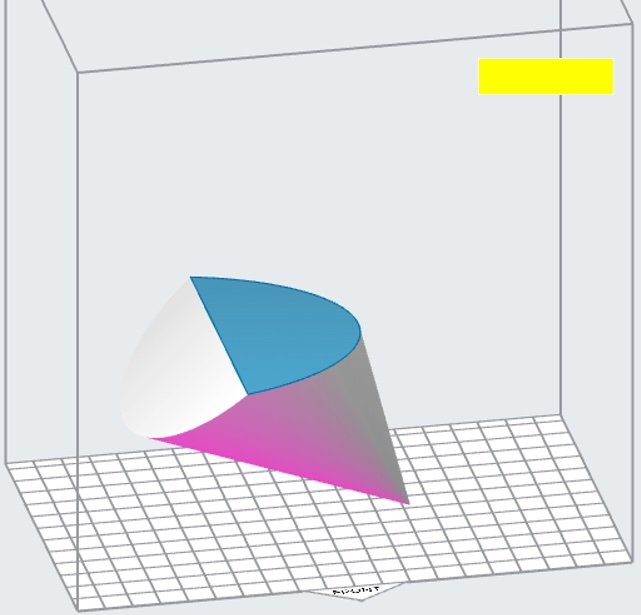
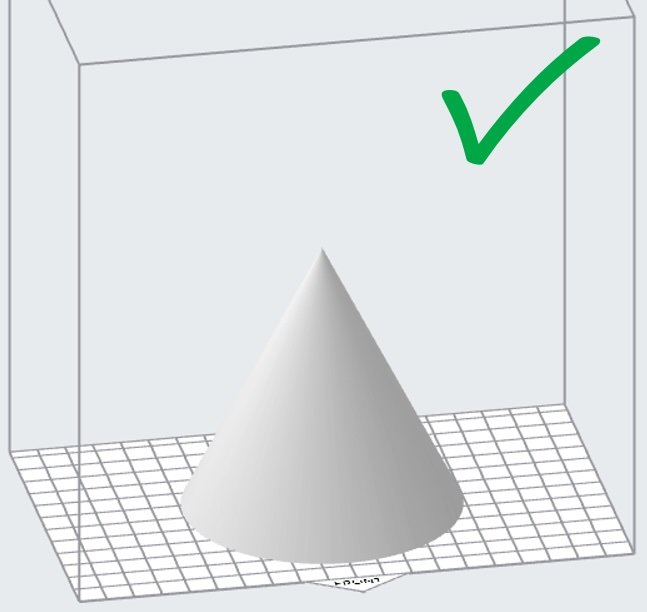
And before every print: check the tank for debris, keep the platform clean and dry, and use one mixer per tank — if you move a mixer to a different material, wash it 5–10 minutes in clean solvent first, or opaque resin will cloud your Clear. Consumables — tanks, mixers, wash and cure units — are on our shelf, so a small part never costs you a shift.
Three worked examples
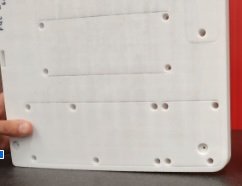
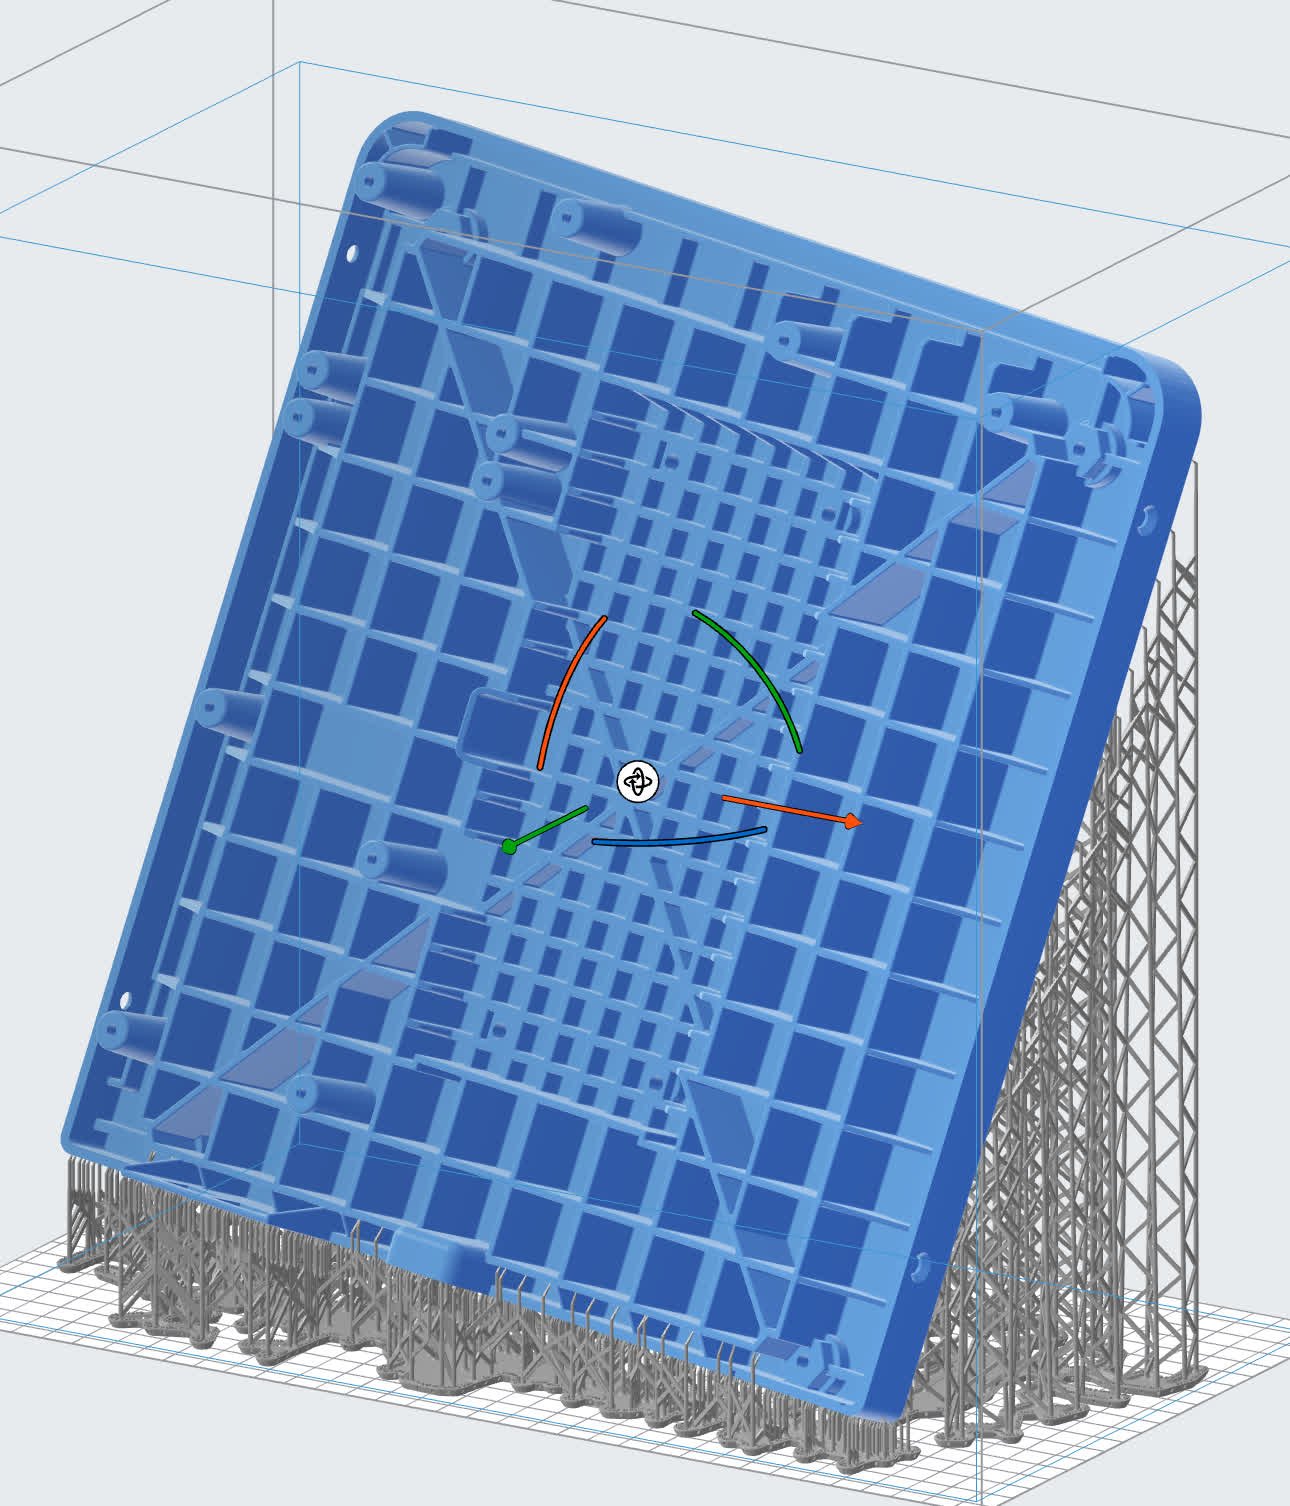
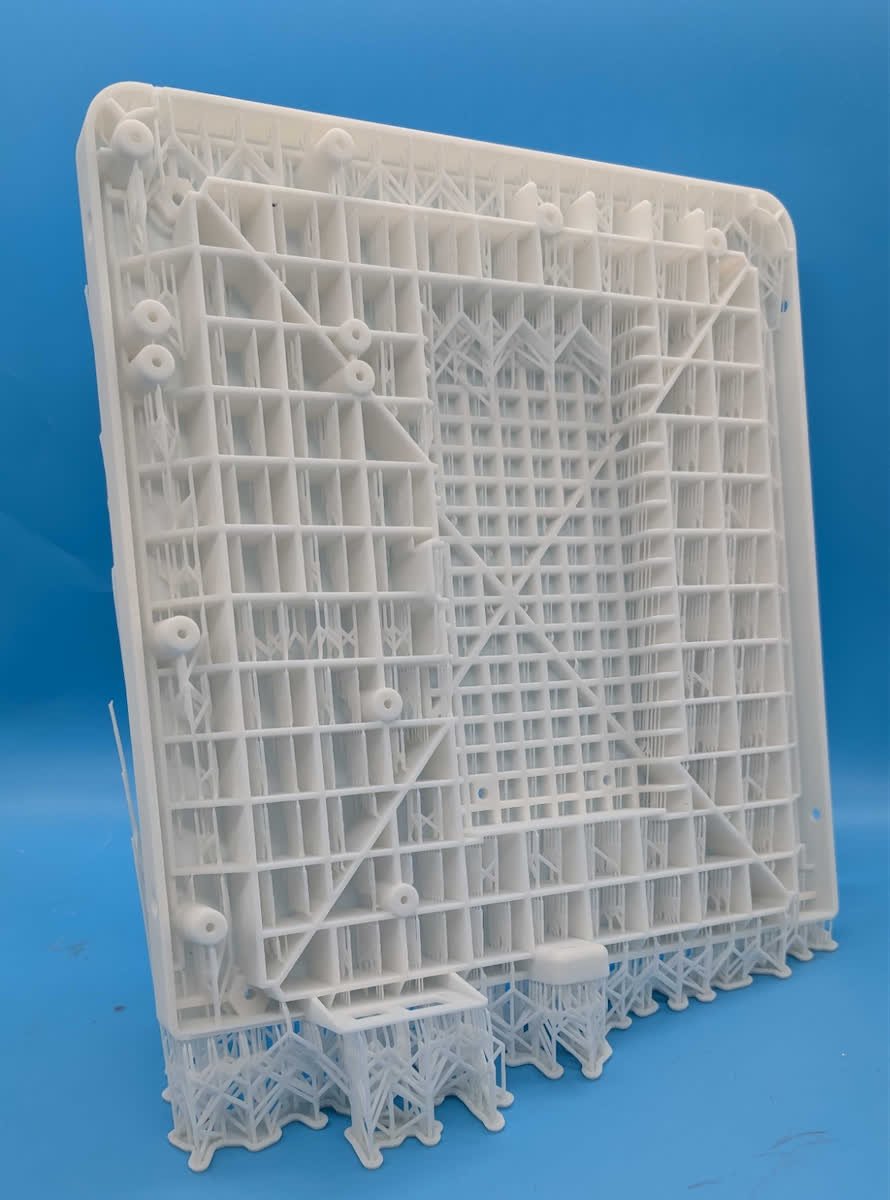
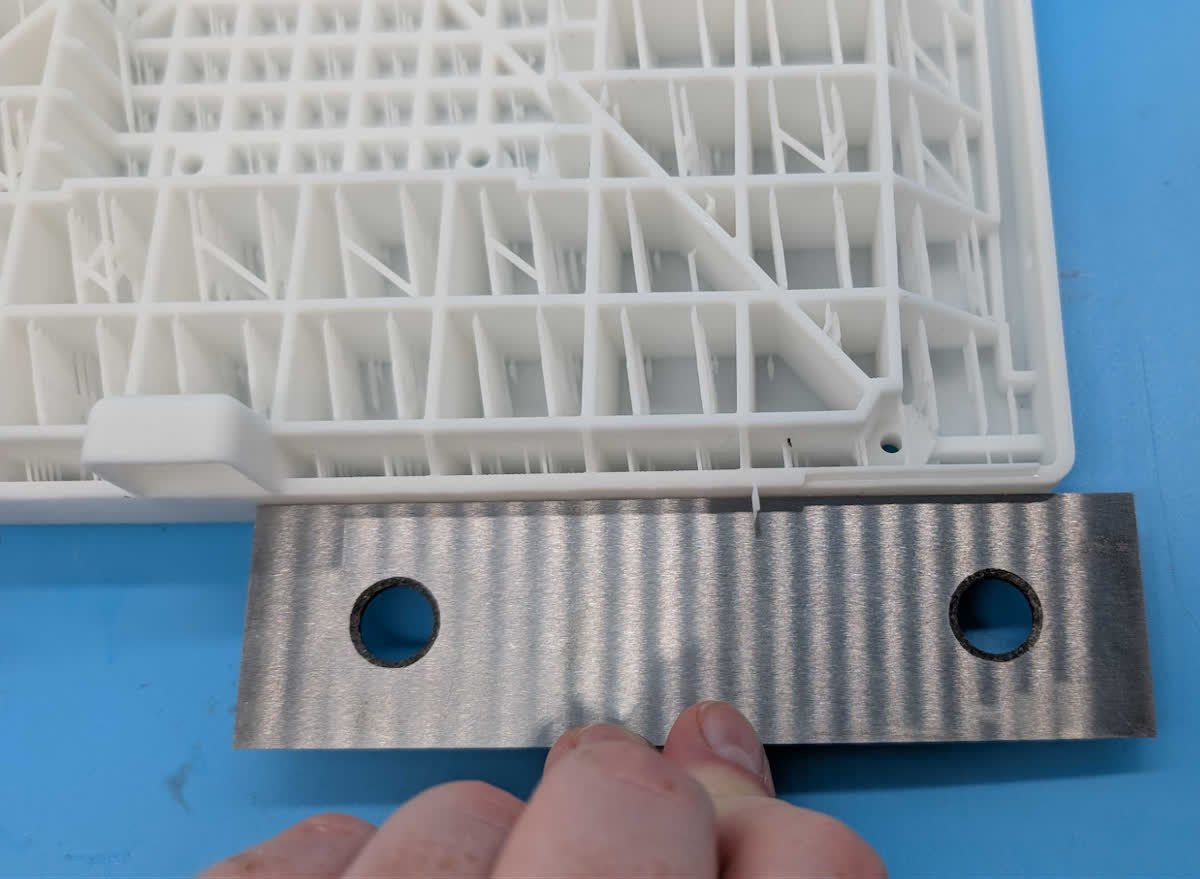
Formlabs show three parts printing flat with zero warpage in the recommended orientation — a case, a Form 2 base, and a resin tank frame. In every one, a large flat face lands on the platform or sits at an angle, never parallel.
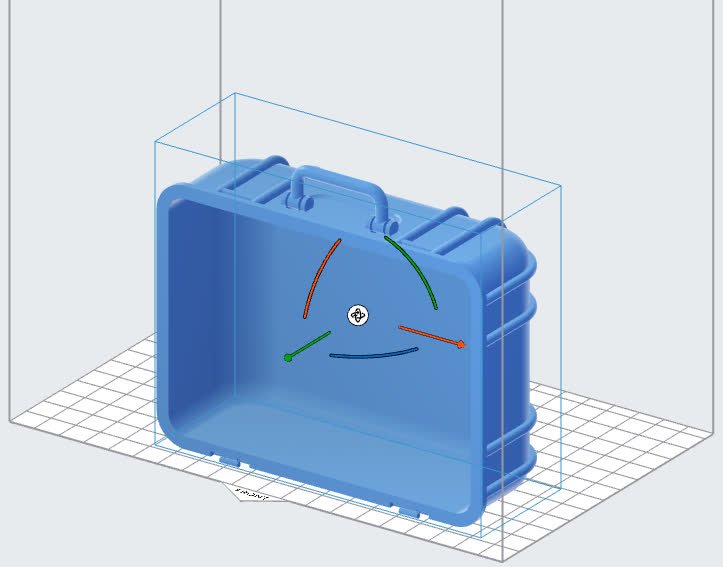
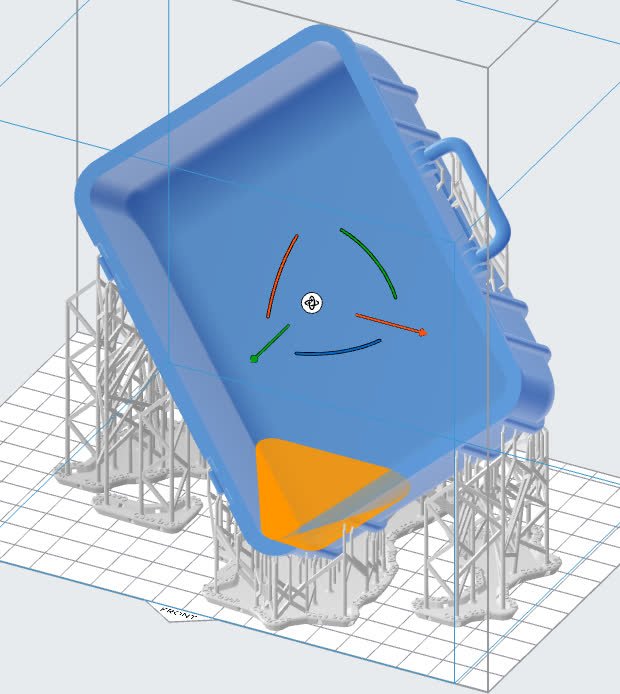
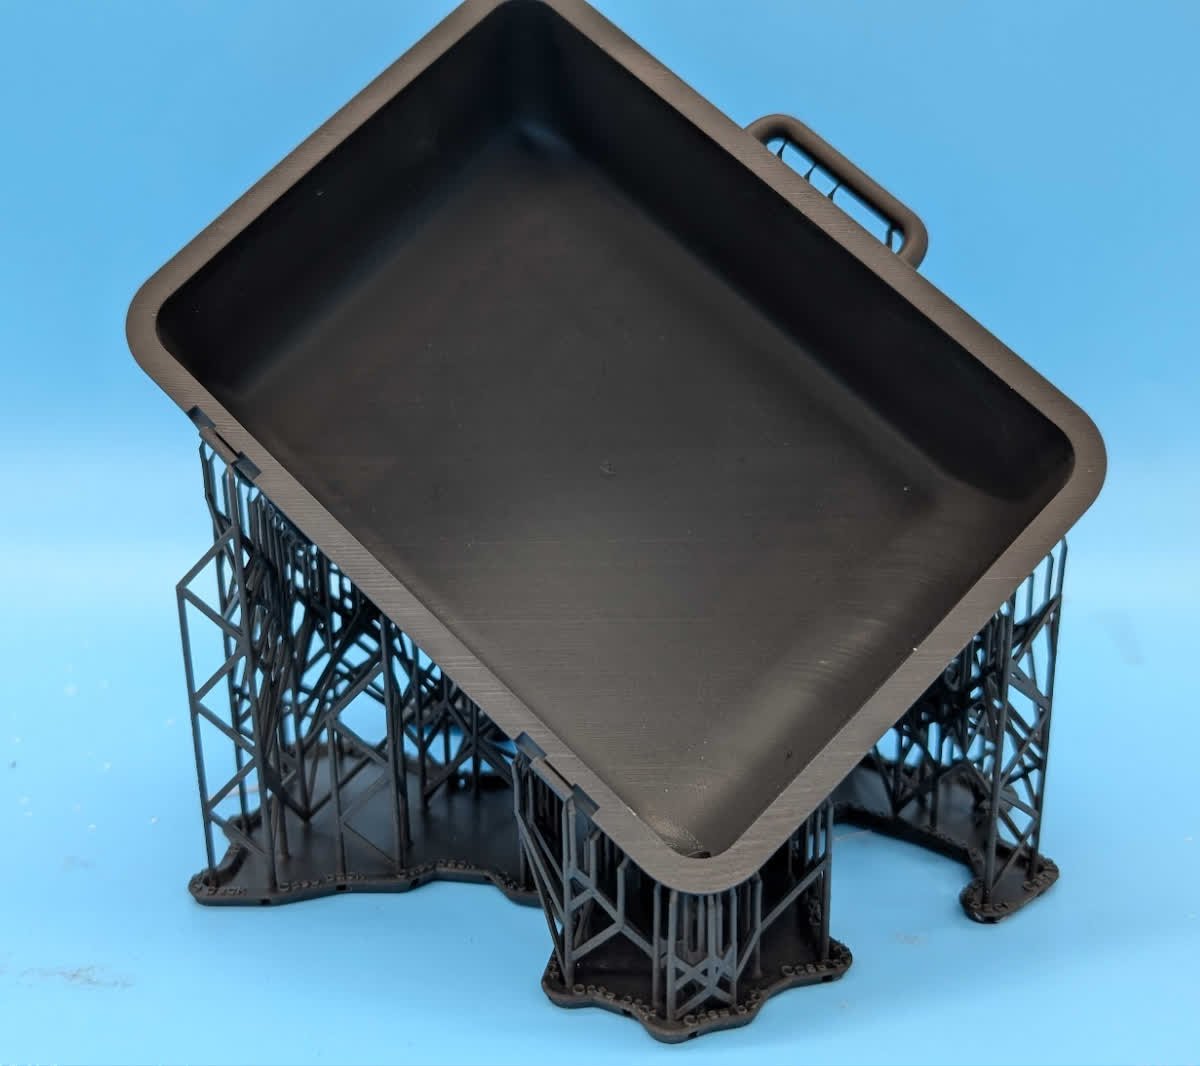
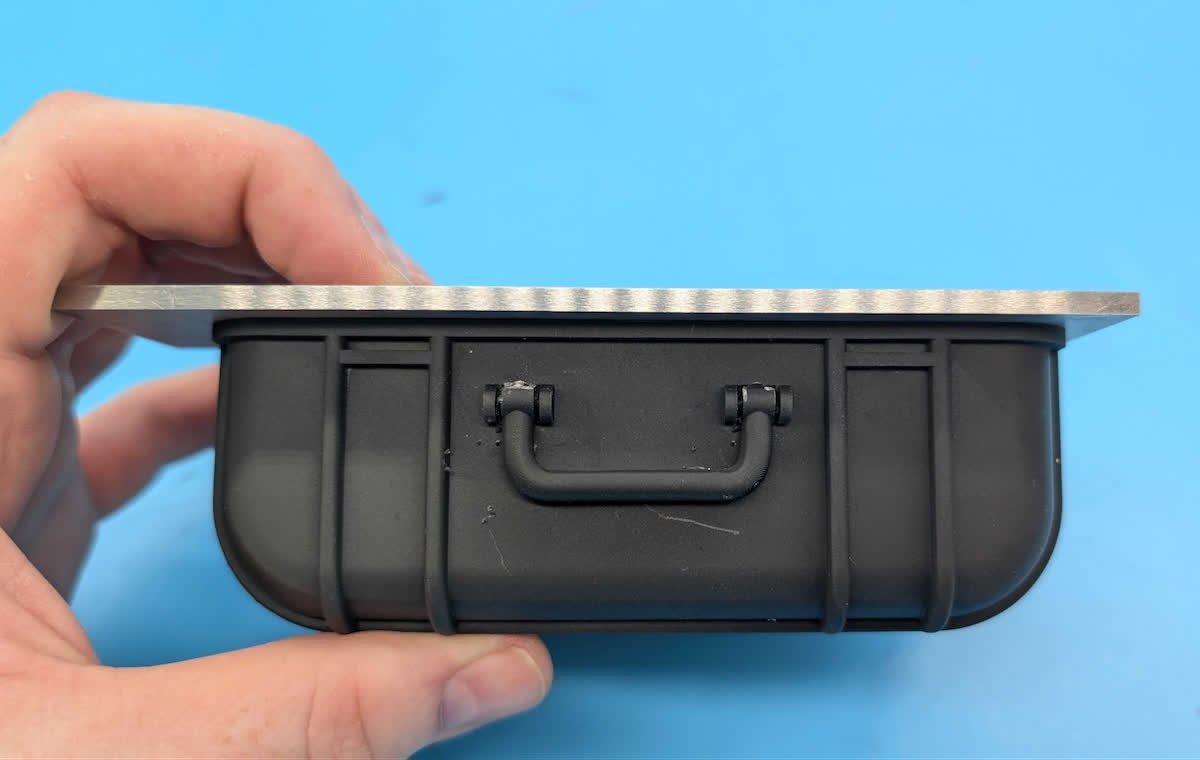
Example 1 — case
Example 2 — Form 2 printer base
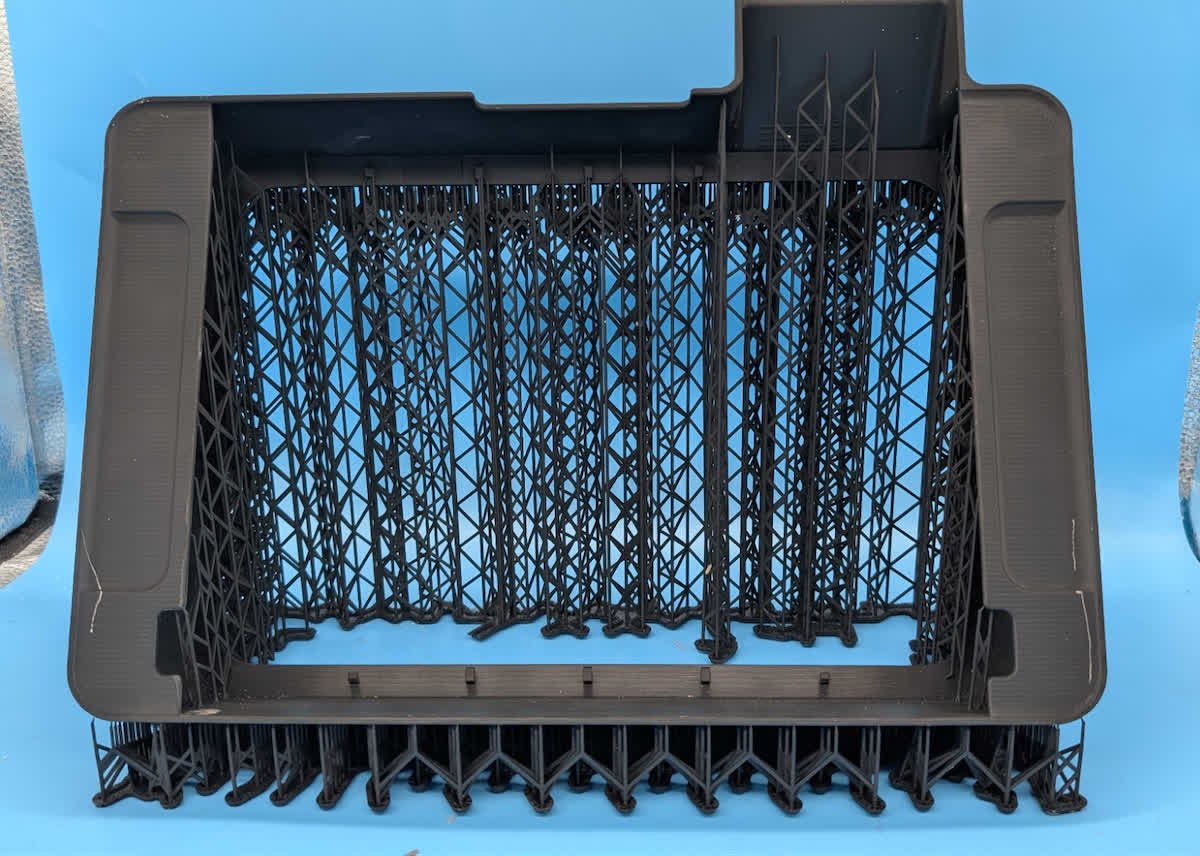
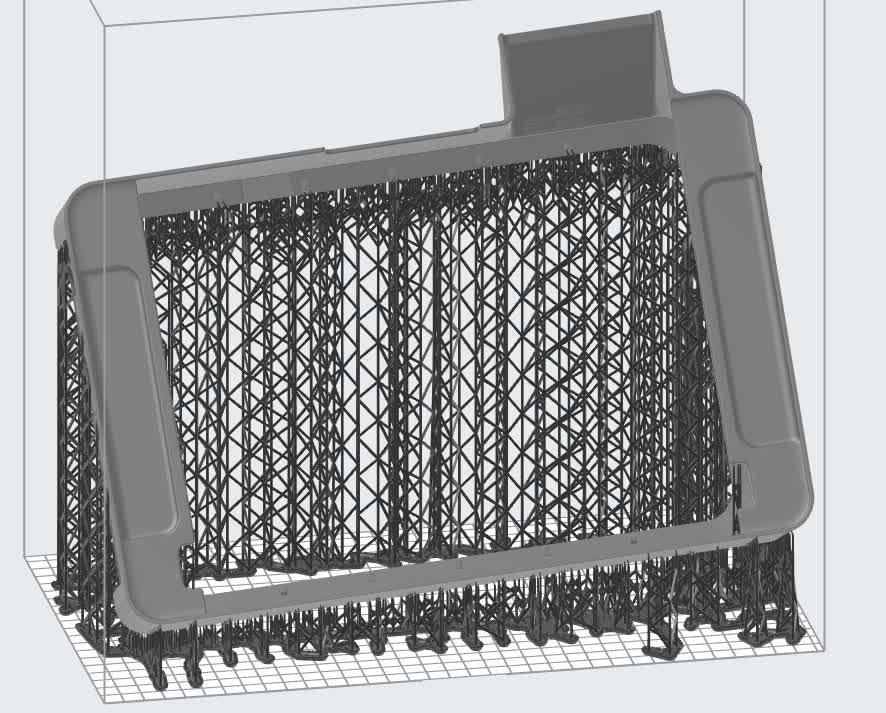
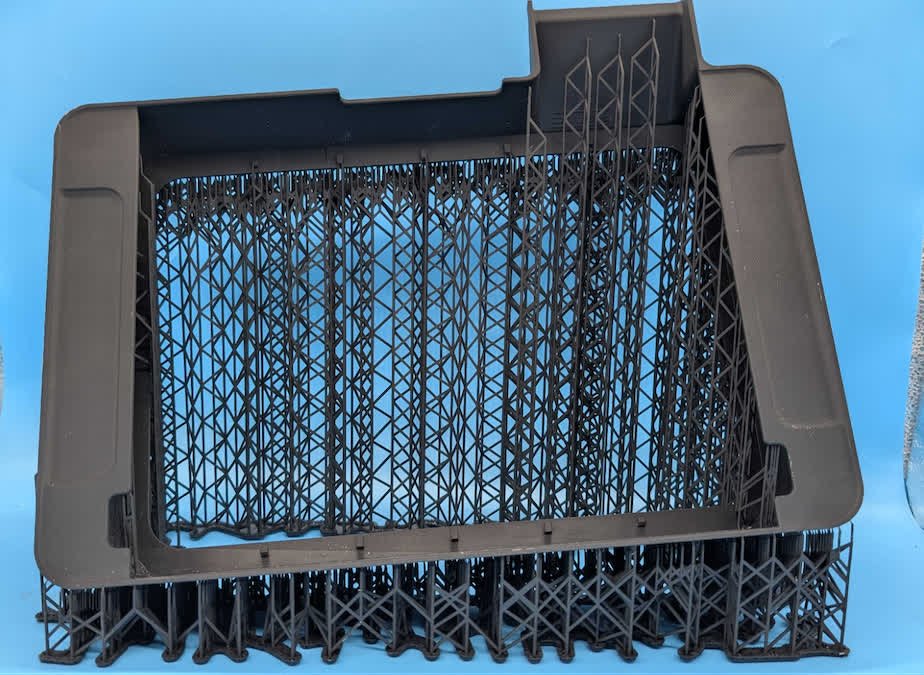
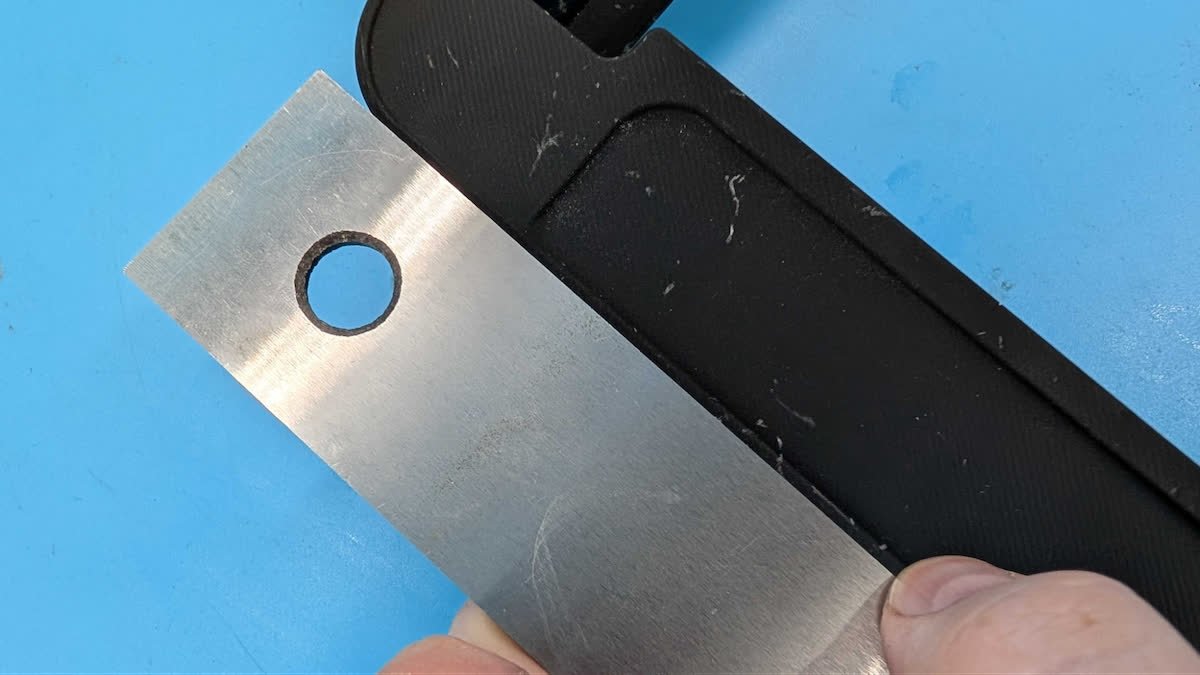
Example 3 — resin tank frame
Our take
We’ll say it with our commercial interest on the table: we sell the Form 4, the resins, and the post-processing gear — the whole Formlabs line under one roof. Which is exactly why we’d rather your printer ran than re-ran. At home a good print is a nice-to-have; on a print farm every failed run is resin, machine time, and a slipped deadline — real money. Correct orientation is the cheapest fix in that chain: two minutes in PreForm. And when a part’s geometry is too stubborn to crack solo — or you don’t have a printer at all — that’s what we do: bring it to us and we’ll print it on Formlabs and hand it back finished.
—
Send your STL/STEP — quote within one hour
Official Formlabs distributor in Ukraine, production facility in Kyiv, international shipping on request.